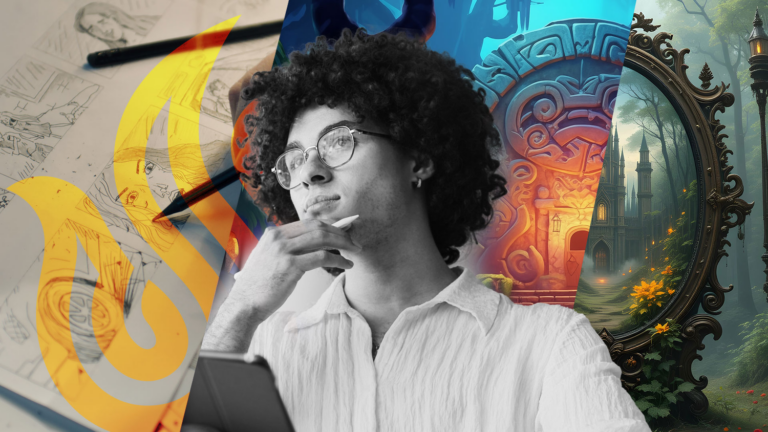
Computer technology has seen rapid growth for both animation hardware and software in the last few decades. This rapid acceleration of tech has opened up numerous opportunities for animators and animation teams alike. Amongst the biggest impacts of the digital renaissance is the ability to create your own 3D characters and art assets.
While the hardware and software available today make it easier to create 3D models and assets, it still takes skill and dedication to make characters that are actually appealing. The process itself is simplified compared to even a few years ago, but you must still apply knowledge of artistic principles to create a realistic character. Then, there is the technical knowledge of various apps and tools used by digital 3D artists to create professional work. You can use completely free tools to achieve some fantastic results, although the best features often require a paid license to access.
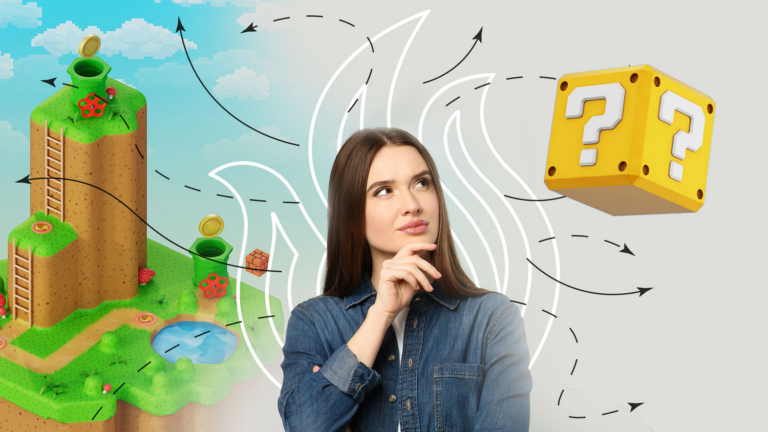
The following guide will explain the ins and outs of creating your own 3D characters. Not only will you learn about the various tools you can use for 3D animation and development, but you will learn the best way to develop the skills necessary to land a job as a professional animator. As long as you take your training seriously, anyone with enough passion can develop the talent required to make it in Digital Art and Animation.
How Can I Make My Own 3D Character?
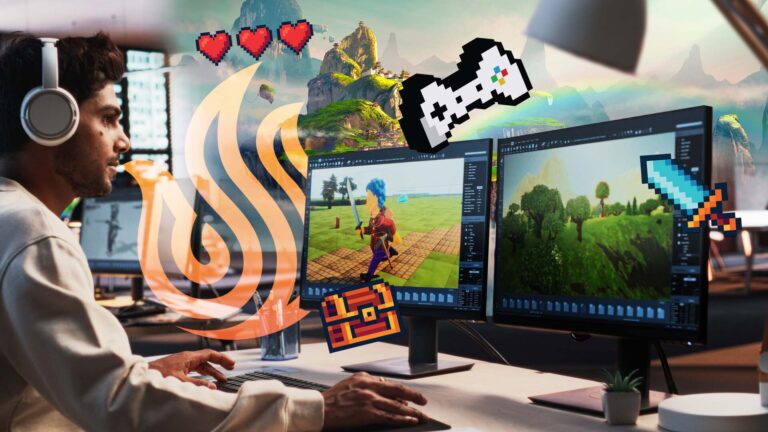
When it comes to creating 3D characters and art assets, there are numerous tools at your disposal. Taking some time to explore each one is a great way to practice your 3D art and develop your personal style. Having well-rounded knowledge of each tool will increase your hire-ability. Each job or studio will require you to work with specific tools. The more tools you can put on your resume, the more doors will be open for you.
Blender
You should start with an incredibly powerful tool that is completely free to use. Blender is open source, which allows anyone to modify assets as they see fit. This makes the app a perfect way to start working in the world of 3D animation and digital art. Blender offers a variety of features. You can model or sculpt characters and objects. From there, you can animate each asset and simulate real-world interactions. Story artists can craft entire narratives with Blender.
When it comes to larger projects, Blender allows you to organize your development pipeline and track milestones. Visual effects and video editing features also come standard with the software. Finally, you can render complete scenes to finish your digital art projects. Blender is a complete app that offers what you need from start to finish. While some programs excel in key areas, Blender serves as a jack of all trades that is suitable for most working conditions.
zBrush
zBrush is an advanced tool for 3D modelers looking to take their craft to the next level. The app focuses primarily on modeling, sculpting, and rendering assets. This means it provides many ways to sculpt your designs, while foregoing features such as video editing. Luckily, you can export your zBrush assets into another program to complete those tasks.
The highlight of zBrush is the ability to customize your own paintbrushes. A specific brush will help you achieve obscure art styles with enriching details. For instance, you can create a brush that simulates working with clay. Translating the properties of a specific material, such as clay, into a digital space is the key to creating novel effects that will captivate audiences.
Adobe Fuse
Adobe Fuse is another excellent choice for beginners looking to see what is available in digital art. You can create simple 3D characters in minutes through the extensive selection of premade assets. These models can then be imported into other Adobe software, such as Photoshop. While this is the easiest app to use, the results will not be quite as polished as the other three options. The simple character creation suite allows for some customization, but you are still limited somewhat by the templates.
The trick to getting better results from your Fuse characters is to bring them into Photoshop. In Photoshop, you can animate and pose each character by adjusting some sliders. Again, the simplicity is great for beginners, but your final results will be remedial compared to what a skilled creator can make in the other programs.
Autodesk Maya
Autodesk Maya is widely used by professional film studios, video game developers, and other digital artists. It is arguably the most powerful of the platforms on this list, which also brings it to a higher cost for each license. Still, the high price tag is justified by what can be achieved with the software. Modeling, animation, and special effects of the highest quality are at your disposal. As your business or company grows, you can scale each project and your workflows to compensate.
In addition to creating characters, Autodesk Maya lets you simulate other aspects of a scene. Demanding effects such as snowstorms, explosions, and other screen-covering spectacles can be rendered with riveting detail. You will come to use Maya while enrolled in a Digital Arts and Animation degree program.
What is the Process of Making a 3D Character?
When creating a 3D character, there are five basic steps that you must follow. Once you follow these five steps and have your model, there is an infinite number of things you can do with it depending on the type of project you wish to place that model in.
Step #1: The concept art and planning stage.
The first stage is to design the character on paper. A concept art sketch will give you a template to follow as you take your work into the digital realm. Once you know what you are creating, you can decide which modeling program to use. By planning everything out in advance, you set yourself up for success during the next steps.
Step #2: Modeling and sculpting your design.
This step involves opening your program of choice and sculpting the initial form of your character. The goal is to create an outline of the body. You will fill in the details during the next few stages. Start with a silhouette and you will have an idea of what to create. Select a brush that suits your needs and carefully sculpt the desired form of the character.
Step #3: Baking and unwrapping
To add some detail to your character, you must first bake it into a scene so the lighting and shader effects function properly. To do this, you unwrap each layer of your model with UV light. This can be done automatically by your software, so do not be scared off by the sound of this step. Baking models and other assets can take a while depending on the strength of your hardware, so you may need to take a short break to let your PC work its magic.
Step #4: Texture and material work
It is time to add detail to your base character template. Animation and modeling programs allow you to apply textures and material shaders to each individual aspect of your character. This is where you add clothing, facial hair, and finalize the colors of your design.
Step #5: Character rigging and animation
With the visual details out of the way, all that is left is to apply basic motion to your character. This is achieved through character rigging, which manipulates digital bodies by mimicking the internal structure. In the case of a human character, you can use real anatomy to create a believable animation for walking, jumping, climbing, and any other basic motion audiences are familiar with. For characters with no reference point, such as fantasy creatures, traditional animation principles can be used. If you did your due diligence during the planning phase, you already have a perfectly suitable animation software for the task at hand.
Should I Learn on My Own or Attend a Formal Education?
With the abundance of information available online, it is normal to look up a few tutorials and begin teaching yourself. However, keep in mind that a career in animation or modeling deserves the effort required to place your best foot forward. Attending a formal education will ultimately give you the best chances of excelling in your career as a digital artist. The structured curriculum, and the numerous benefits that come with it, cannot be topped by YouTube videos alone. Use online tutorials here and there for basic concepts but look to a formal education to lay a solid foundation that you can build upon throughout your career.
What are the Benefits of a Formal Education?
There are several key benefits to attending a formal education from a creative arts college. Here are just some of the compelling reasons to enroll in a Digital Arts and Animation degree program.
Benefit #1: Use industry standard hardware and software.
As mentioned above, creating digital art requires some serious hardware and intricate knowledge of specialized software. The easiest way to obtain both is by attending a creative arts college. The facilities contain state of the art equipment that professionals use on a daily basis. You even gain access to tech that will become increasingly relevant in the future, such as VR and AR development opportunities. As for the software, you will learn how to get the most out of the programs like Blender and zBrush. You can take advantage of the school’s special license that allows students to use expensive programs like Autodesk Maya for free during your enrollment period.
Benefit #2: Guidance from instructors.
Each instructor at a creative arts college has professional experience and their name in the credits of published work. This means they know what it takes to get a foot in the door and build a career in digital entertainment. Being able to discuss the industry with them is a rare treat. Try to learn as much as possible from your instructors and add some to your network too.
Benefit #3: Build a portfolio.
Most classes in your Digital Art and Animation degree program allow you to work on group projects that flex your skills. Each completed project can be added to your professional portfolio. Your portfolio proves your merit as an artist by displaying samples to anyone interested in hiring you. Not only will you get to build a portfolio of class projects, but your instructors will also explain how to present your portfolio in the most endearing manner. The presentation will help you get hired just as much as your portfolio pieces themselves.
Benefit #4: Career services.
Even after you graduate, you will still receive support from your school. The idea is to match you with relevant job openings based on your interests and skill level. Creative arts colleges have a vast network of potential employers to turn to. Leverage their reputation to get your foot in the door. From there, perform optimally each day and your career will grow exponentially.
Want to Learn More?
If your passion is for visual effects, 2D or 3D animation, or concept art for video games or blockbuster films, this is the Digital Arts & Animation degree program for you. Gain the digital arts and animation skills you need to kick off your career in this dynamic and growing industry.
University of Silicon Valley is uniquely poised to offer a meaningful and valuable education for 21st century students. We believe in an education that directly correlates with the work you’ll be doing after you graduate. Interested in learning more? Contact Us today.